Walleye Dropshot fishing Tips and gear
(This article was first published in Northern Ontario Tourism in March 2018)
As North America’s only totally blind professional angler, I’ve competed in well-over 75 Walleye tournaments and most often finish near the top. When I’m not competing, I over-see Blue Fish Canada, a charity dedicated to the future of fish and fishing. All this to say, the tips and gear suggestions in this article will mean more Walleye in your net, and the ones released will go back healthy.
First-and-foremost, let’s talk fishing depth. No matter what you may have read or heard, the probability of fish mortality is greater than half if you start targeting Walleye at depths greater than 10 meters. Of course, none of this matters if you’re out to catch dinner, but if you plan to practice catch-and-release, think twice.
Most all species of freshwater fish have a swim bladder that they use to maintain neutral buoyancy. It’s a SCUBA term that means neither sinking nor rising. Bring a Walleye to the surface from depths greater than 10-meters, and the likelihood that the fish will experience barotrauma is high. Signs include redness around the fins, bulging esophagi’s or eyes, and the inability to return to depth. Doesn’t matter how slowly you reel fish in, or how quickly you release them, there’s a strong possibility that the fish won’t survive through to the next day. They will either fall prey to birds, or expire later from all manner of physical ailments. Fizzing is an option, if performed properly, but it’s a tricky procedure that can result in organ damage. The lesson here is to avoid targeting Walleye deeper than 10 meters.
When you do locate Walleye holding on structure and you want to efficiently and responsibly catch a bunch, nothing works as effectively as a drop-shot rig. Sure, jigs are proven Walleye catchers, but next to a dropshot presentation, they out-fish jigs 3-to-one. Further, a properly tied and presented dropshot rig will almost never result in a fish being deep hooked. Straight through the top lip every time. Let’s talk gear first, and then technique.
For obvious reasons I depend on the feel of the bite. All my gear choices are made with maximum tactile feedback in mind. I prefer ¼ oz. tungsten dropshot weights – less if the water is clear and still, and more if there’s wind or current and maintaining a vertical presentation is proving challenging. Ultra Tungsten makes both round and pencil weights. Pencil weights are less likely to get hung up in rocks, but round weights give more feedback because they don’t fall over when contacting the bottom. Either way, Tungsten is far harder than led, safer for the environment, and way better at conveying tactile information.
You can’t go wrong with Trocar TK150 dropshot hooks size #2. Size #1 for larger minnows, and #4 for leaches. Tie these on using the Palomar knot with an additional step at the end. Drop the tag line back through the hook eye so the hook shaft stands out at 90 degrees with the hook point on top. The length of tag line is important as it’s the end where you attach the tungsten weight. Around six inches between the weight at the bottom and the hook above is perfect in most situations, unless fishing around weeds, timber or large rocks, then more distance may be needed to suspend your bait above structure.
For line I prefer 1-meter of 6lb fluorocarbon leader material. Fluoro is invisible underwater as long as it remains un-scuffed. It is also fairly abrasion resistant. I like going a bit lighter on the leader material as it allows the bait to move more naturally, and offers less resistance to the Walleye when it’s checking out your offering.
Walleye will often touch your bait with the side of their face to taste, then with their mouth to feel, and only then if the bait passes these tests, will it decide to eat. Of course, hunger and competition can lead to far more aggressive feeding behavior, but for anyone who spends time fishing Walleye, a tentative bite is more often the case.
I always attach the leader to my main line using a small steelhead swivel. These tiny swivels easily pass through the guides on your rod, and can take anything a Walleye can dish up. For main line my preference is PowerPro Super slick braid, 10lb, in colours brown or green, depending on the lake – green for weedy bodies of water, and brown for the more northern lakes where tannins colour the water and wood and rock are the prevailing structure. Braid has zero stretch and delivers every tap and bump. No-stretch also means easier hook-sets as there’s no stretch to contend with.
For rods, the Shimano 2-piece Compre 6’6” medium action is perfect. A slightly softer tip to ensure Walleye stay buttoned-up, and superior blank and handle materials to transmit feeling from the line to the hand. The new Shimano Sedona 2500 spinning reel has all the latest performance features you could want in a reel at its price.
Presentation is simple. Whether real or artificial, the trick is not to move the rod’s tip. Less is more. Contact bottom and wait with a slightly slack line. Lift softly on occasion or if something seems different, and when resistance is felt, apply a solid but not aggressive hook set. Seldom will be the case that an actual bite is felt. As always with Walleye, reel steadily and avoid pumping the rod.

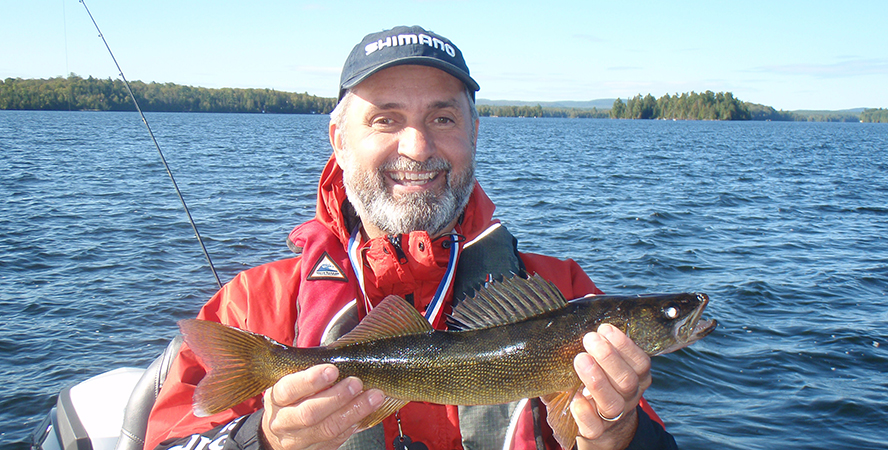
Lawrence releasing a 17-inch Walleye
Remember, limit your catch, and don’t always feel that you need to harvest your limit. For more tips on fishing sustainably, visit Blue Fish Canada on the web, or catch our weekly Blue Fish Radio podcast featuring people who care about the future of fish and fishing. Always interested in learning from others as well – nothing beats hard-won local knowledge.

